¶ Setting Up Registers
For admins. This page covers creating and managing registers for a workflow. For how project teams add and update records, see Registers.
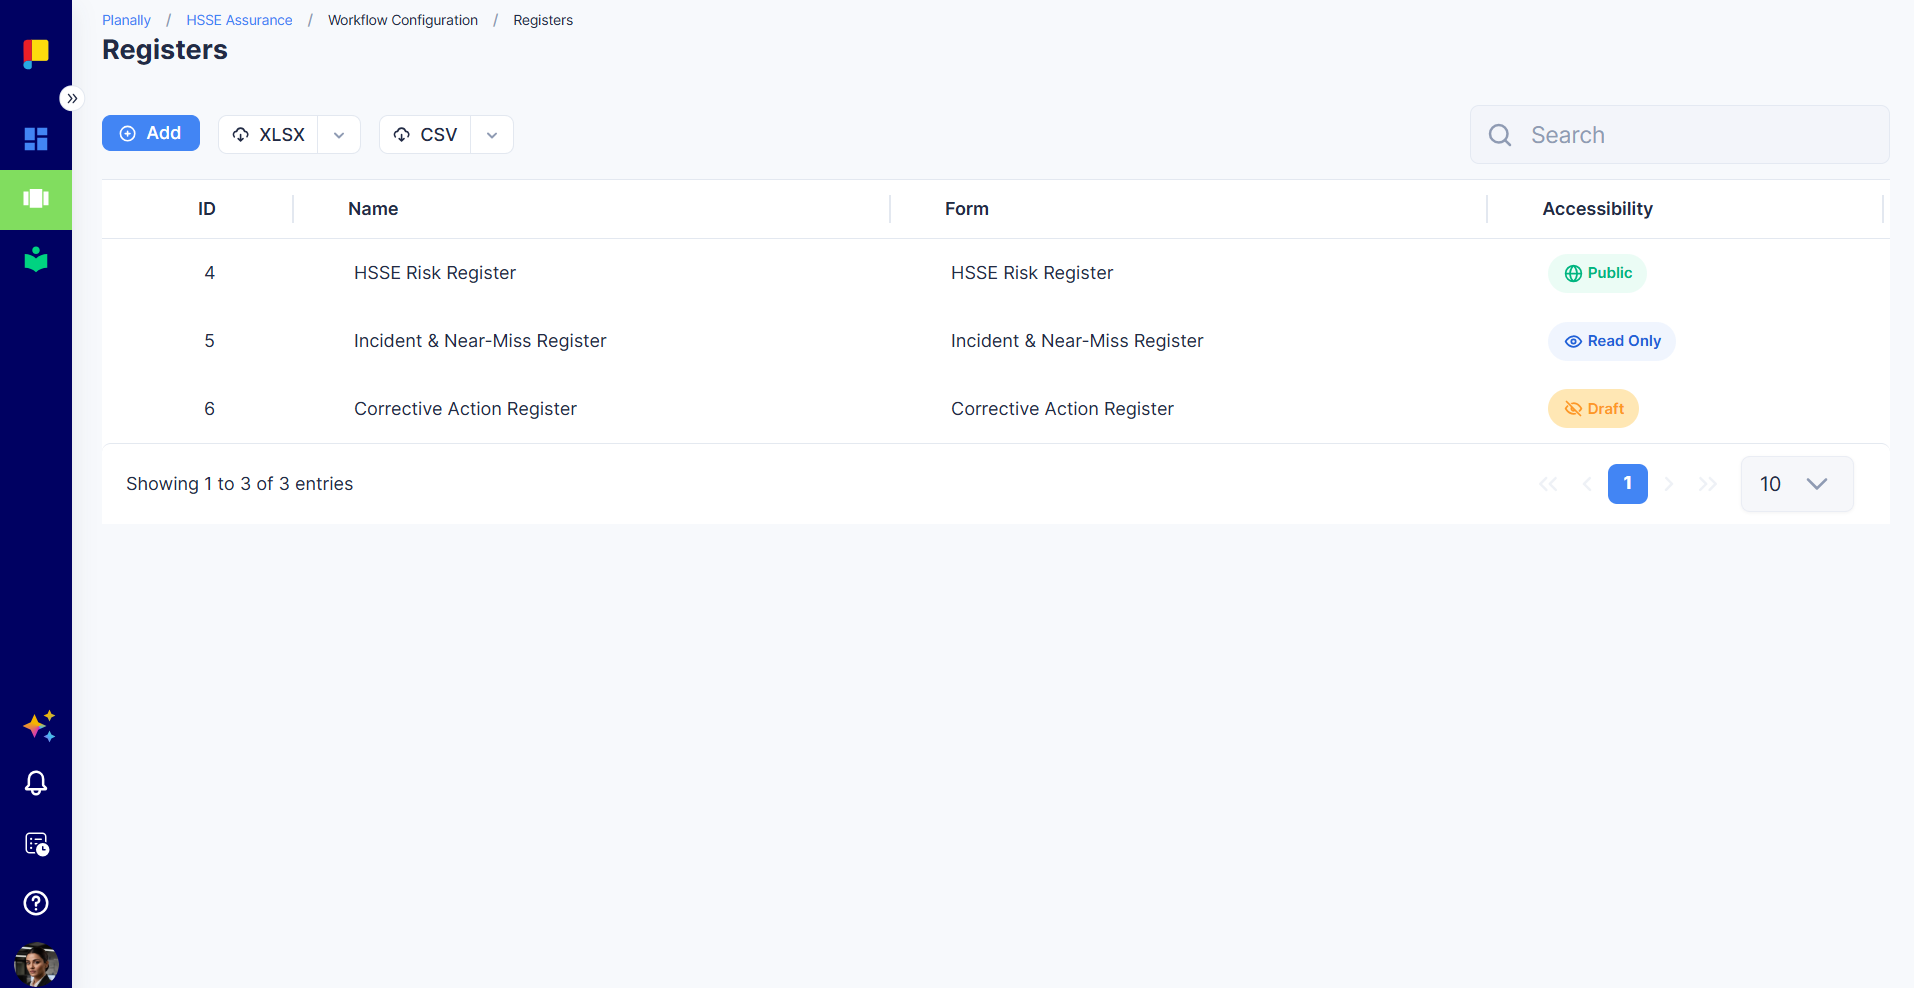
A register gives every project in a workflow the same structured list (a risk register, an issue log, an asset list, an invoice log) built from a form you design once. You decide what each record captures and who can see and change it; project teams fill it in. Because every project uses the same register, information is captured consistently across the whole workflow.
¶ Why This Matters
- One design, every project: set up a register once and it appears in every project in the workflow.
- Consistent data: every record uses the same form, so records are comparable and exportable.
- Governed access: control who can view and change records with four access levels.
- Built-in calculations: registers use Form Builder forms, so they can include formulas, dependent dropdowns, and tables.
¶ How Registers Work
- Build a form in the Form Builder. The form defines the fields each record captures.
- Create the register and choose that form and an access level.
- Project teams add records from the Registers tab in each project. Records belong to the project they were added in.
¶ Step 1: Build the Form
- Open your workflow and go to Configuration → Projects → Forms.
- Click Add New Form and design it in the Form Builder: add the fields each record needs, such as text, numbers, dates, dropdowns, user selectors, file uploads, editable tables, and formulas.
- Click Save & Close.
Tip: Every visible field becomes a column in the register's records table. Keep labels short so the table stays readable. Formulas can't read hidden fields, so use Read-only for helper fields a formula needs.
¶ Step 2: Create the Register
¶ Steps
- Go to Configuration → Projects → Registers.
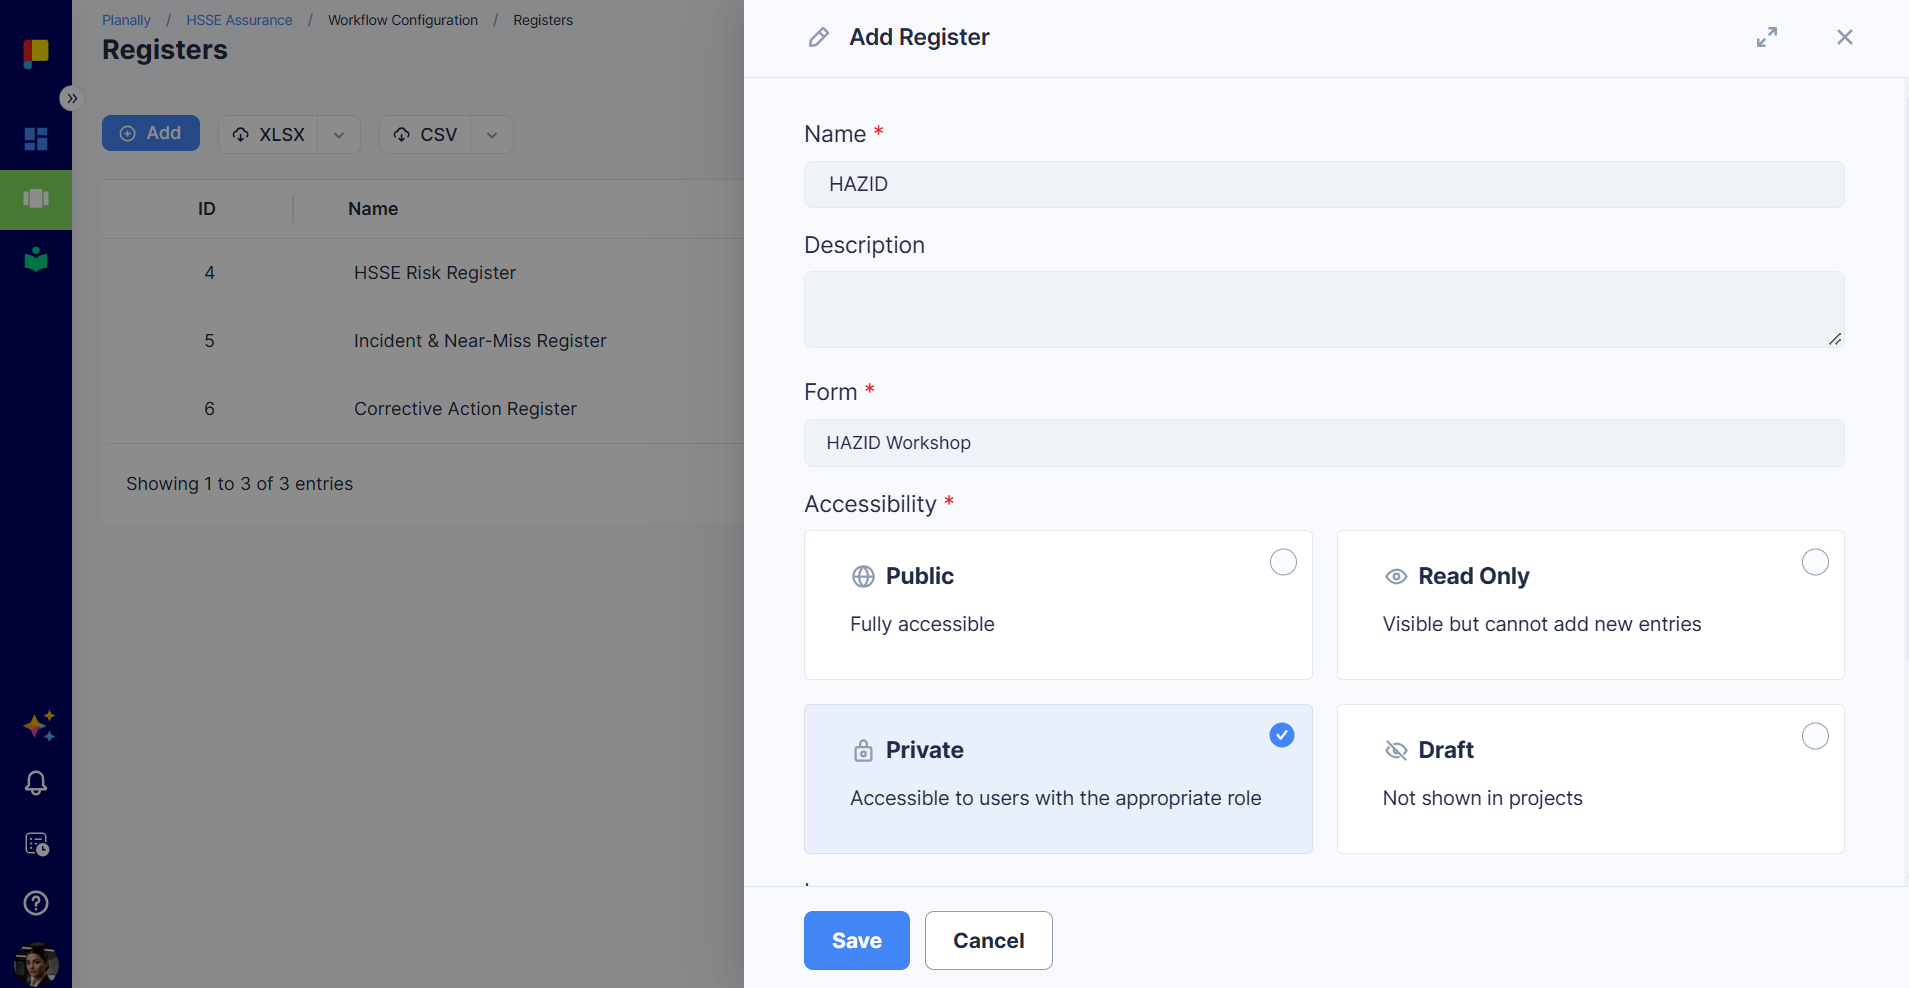
- Click Add. The Add Register panel opens.
- Enter a Name (e.g. Risk Register) and a Description that tells project teams what it's for.
- Choose the Form. Only forms built in the Form Builder are listed.
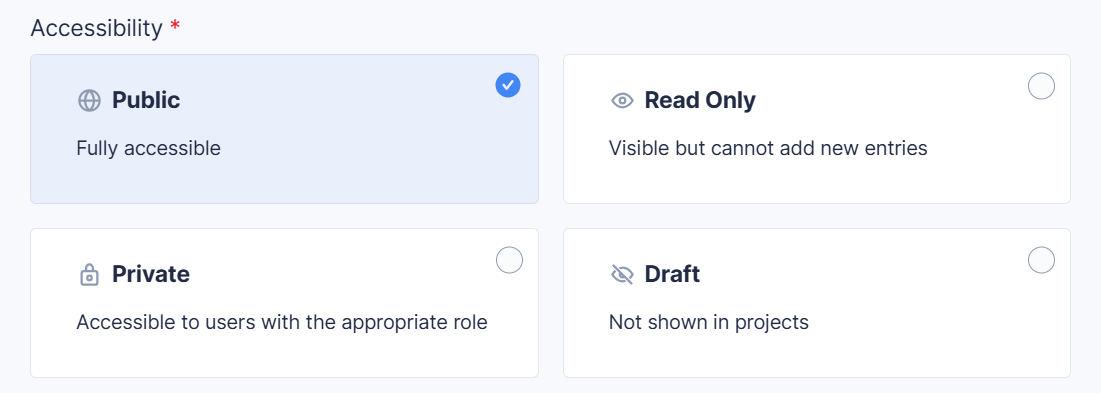
- Choose the Accessibility (see below).
- Optionally add an Image for the register card (JPEG, PNG, or GIF; cropped square).
- Click Save.
¶ Accessibility
| Option | Shown as | What it means |
|---|---|---|
| Public | Fully accessible | Anyone with access to the project can view, add, update, and delete records. |
| Read Only | Visible but cannot add new entries | Anyone with access to the project can view records. Nobody, including admins, can add, update, or delete them. |
| Private | Accessible to users with the appropriate role | Only Key Role users on the project, Workflow Admins, and administrators can see and manage it. Everyone else doesn't see it. |
| Draft | Not shown in projects | Hidden from every project, including from admins. Use it while you set up and test. |
Tip: Create new registers as Draft, check the form, then switch to Public or Private when you're ready for teams to use it.
¶ Changing a Register
To change a register's name, description, image, form, or accessibility, select it and click Update.
- Changing the form's fields: edit the form in the Form Builder. If records already exist, Planally asks you to confirm before you continue editing, because existing data may be lost depending on your changes. When you save, existing records are updated to the new structure: values in fields you removed are deleted.
- Switching to a different form: Planally doesn't move existing records to the new form's fields. Only switch forms on a register that has no records yet.
¶ Deleting Registers and Forms
- A register that holds records can't be deleted. You'll see: "This Register cannot be deleted because it is currently in use by a project with data." Set it to Draft instead to hide it from projects.
- A form that's used by a register or an activity template can't be deleted. Remove it from every register and activity template first.
¶ Good to Know
- Records are per project. Each project has its own records in each register, and there's no combined view across projects. Use Export in each project when you need to combine data.
- Registers aren't available in dashboards. Query Tiles count projects, activities, and users, not register records.
- Records get an ID automatically, shown as the first column of the records table.
- Tables inside a record are filled in after the record is first saved.
- Several registers can use the same form, for example one risk form for a Project Risks and a Safety Risks register.
¶ Best Practices
- Design the form around the decision it supports. Ask what someone will do with the register before adding fields.
- Use formulas for ratings and totals, so they're always calculated the same way. See Formula Builder.
- Use Draft while you set up, and test by adding a record yourself before opening it up.
- Use Read Only for reference lists that teams should consult but not change.
- Avoid changing a form once teams are using it. If you must, review the warning carefully and export the data first.