¶ Creating & Configuring Workflows
Key Note: In Planally, creating a "project" can mean creating a contract, tender, research initiative, product, audit, or any other entity defined by your workflow. The steps below apply universally, but examples here use projects for clarity.
Workflows are the foundation of Planally—the structure behind how work runs. Every project and activity exists within a workflow, so creating one is the first step. A workflow defines the phases, roles, and governance that every project under it will follow.
¶ Introduction to Workflow Builder
The Workflow Builder is where you design and manage the structure of your workflow:
- Create the Workflow: Define name, colour, logo, and labels (e.g. Projects, Contracts, Students, Cases).
- Configure Phases: Set up lifecycle phases.
- Add Roles: Define governance roles for activities and roadmaps.
- Create Swimlanes and Activities: Organise tasks and templates.
- Configure Roadmaps: Link phases and activities for automation.
- Publish: Make the workflow active and ready for use.
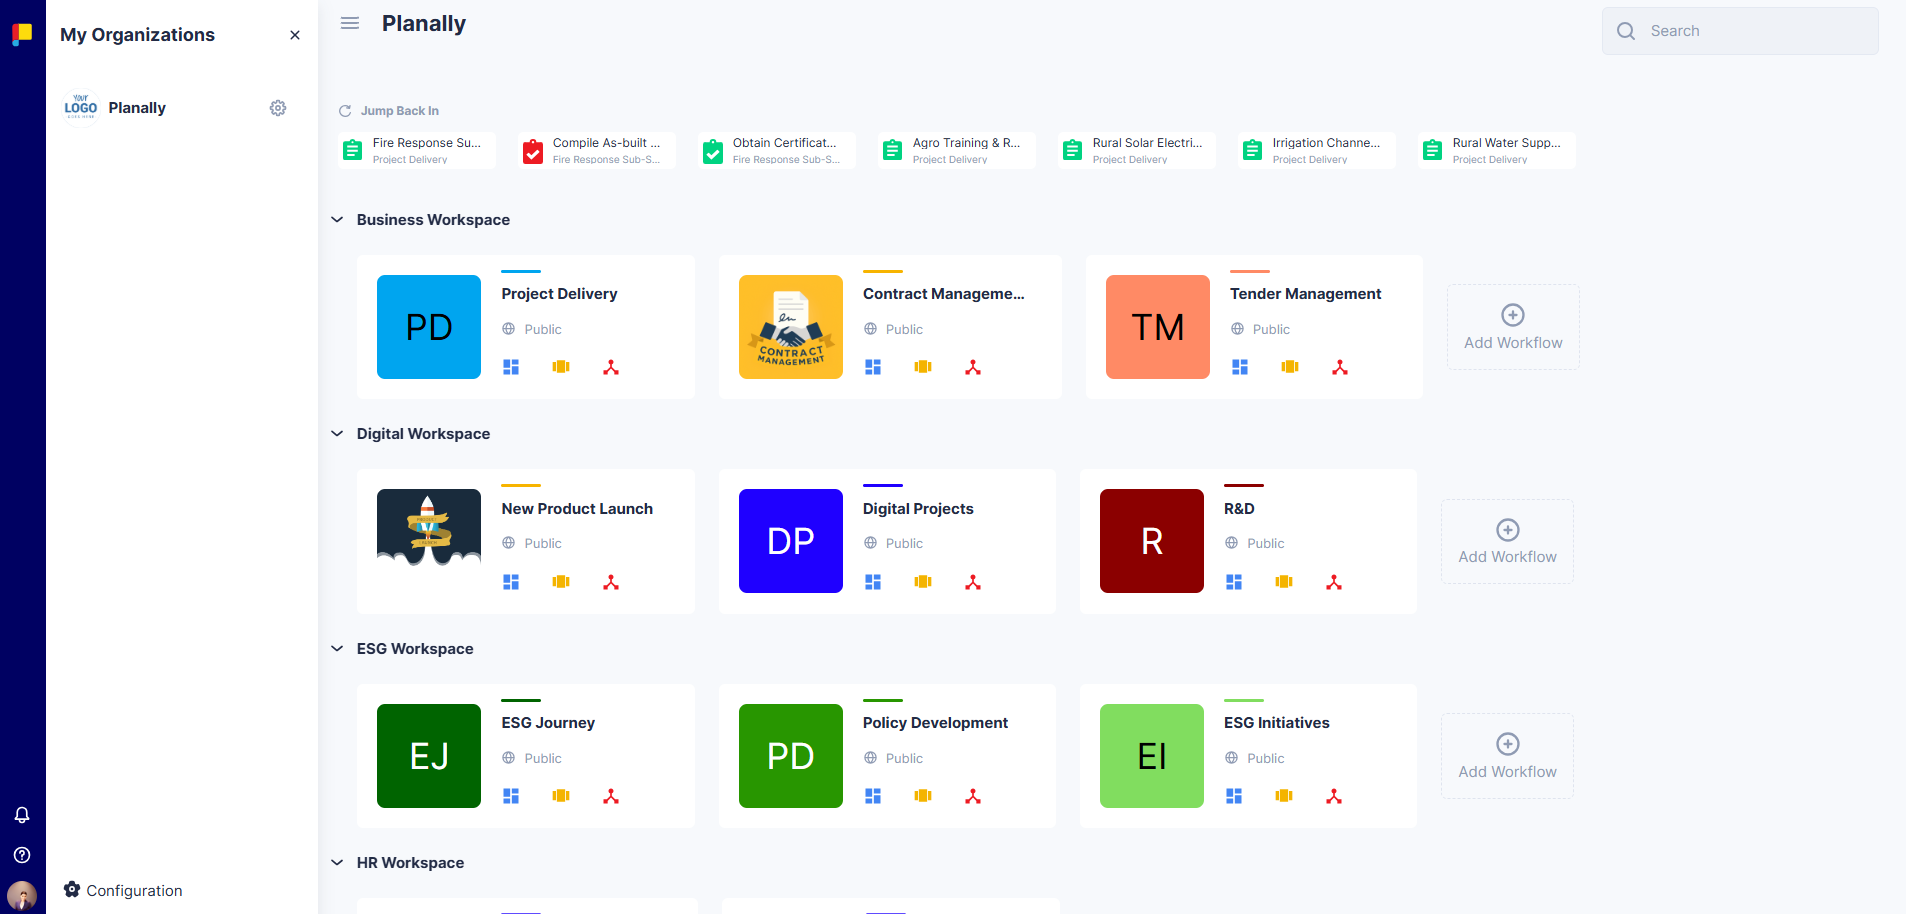
¶ Start by Adding a New Workflow
¶ Steps
- Click Add Workflow from the homepage.
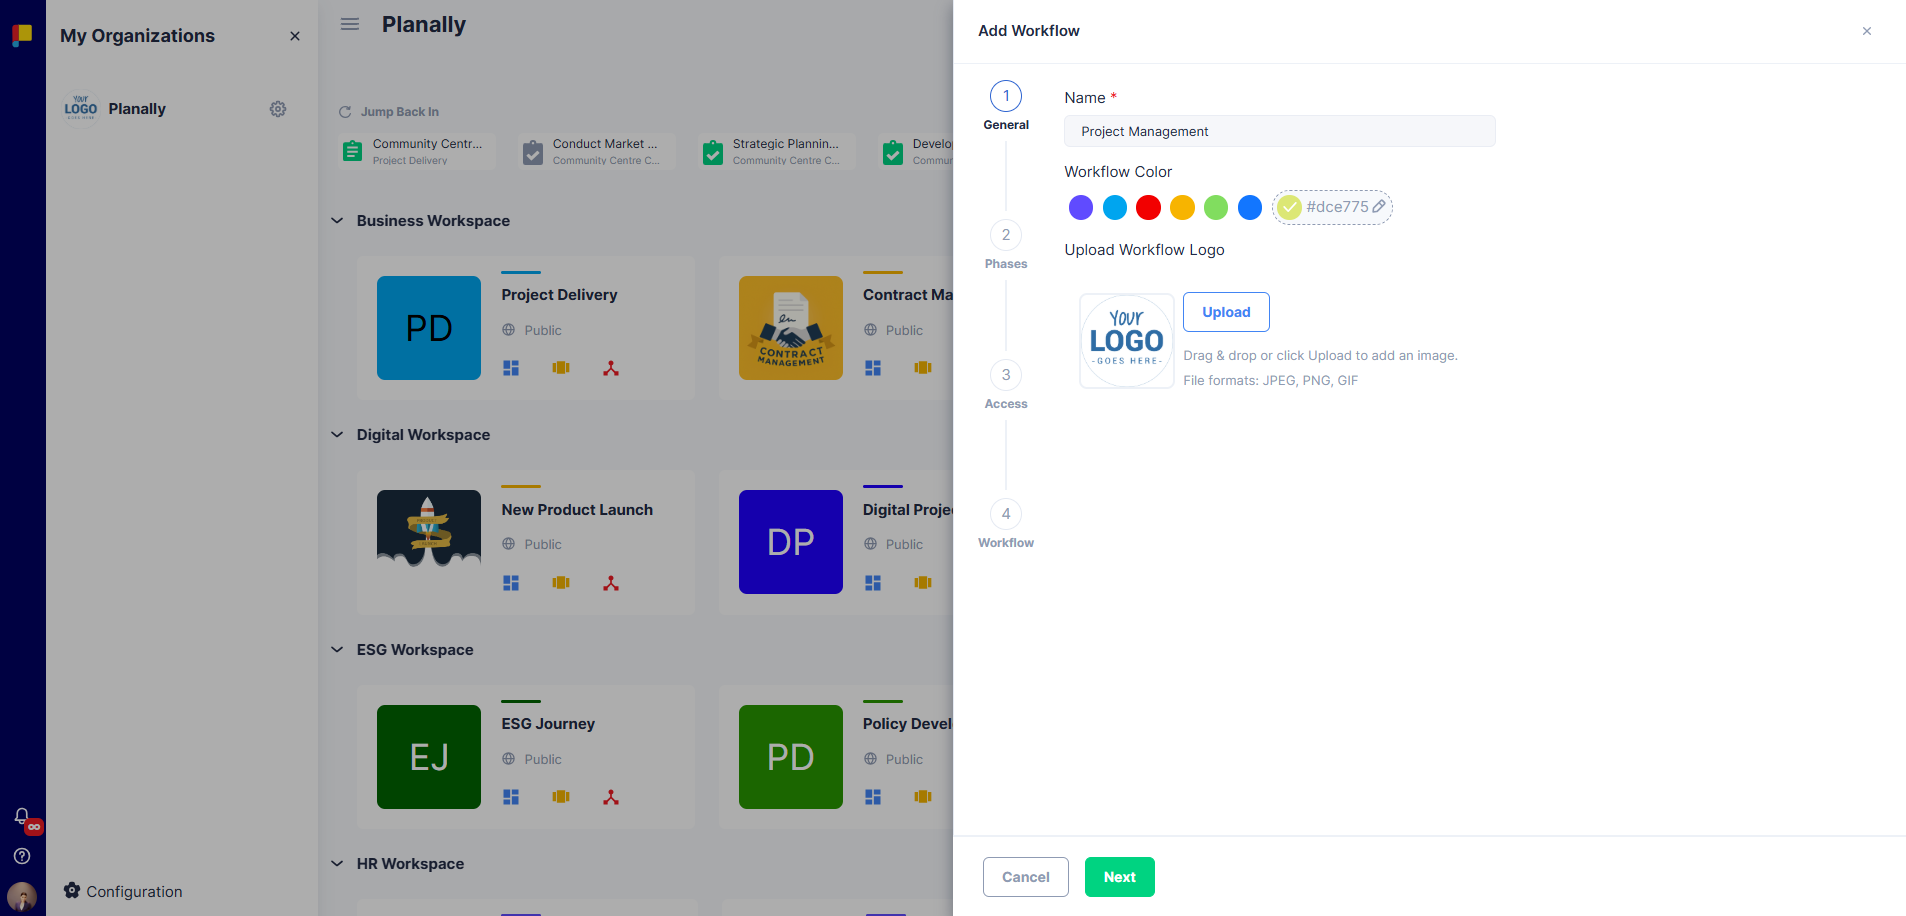
- In the General section:
- Enter a Workflow Name (required).
- Choose a Workflow Colour.
- Upload a Workflow Logo (JPEG, PNG, or GIF).
- Click Next to proceed to Phases.
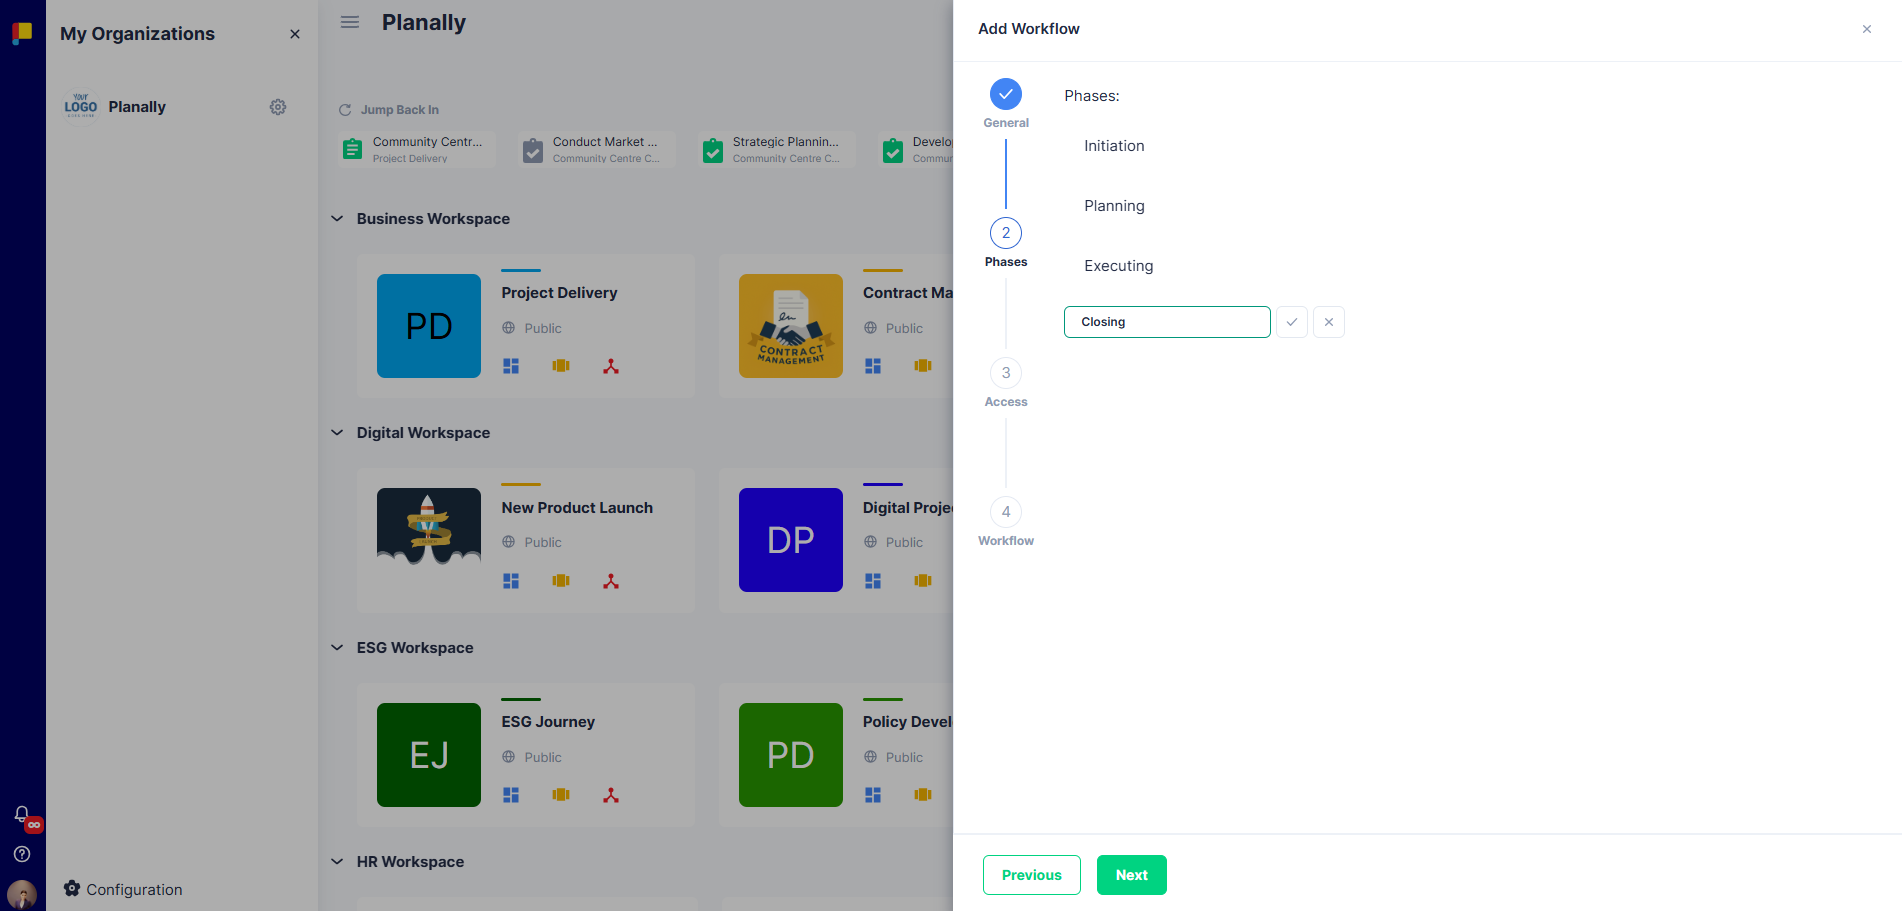
¶ Configure Workflow Phases
Every workflow consists of phases that define its lifecycle. If a workflow doesn't need multiple phases, you can create a single phase.
¶ Steps
- Add phase names in sequence (e.g. Initiation, Planning, Executing, Closing).
- Click Add Phase to add phases as needed.
- Click Next to proceed to Access.
Tip: Keep phase names short and meaningful. Once phases are created, the number of phases cannot be changed, to maintain data consistency.
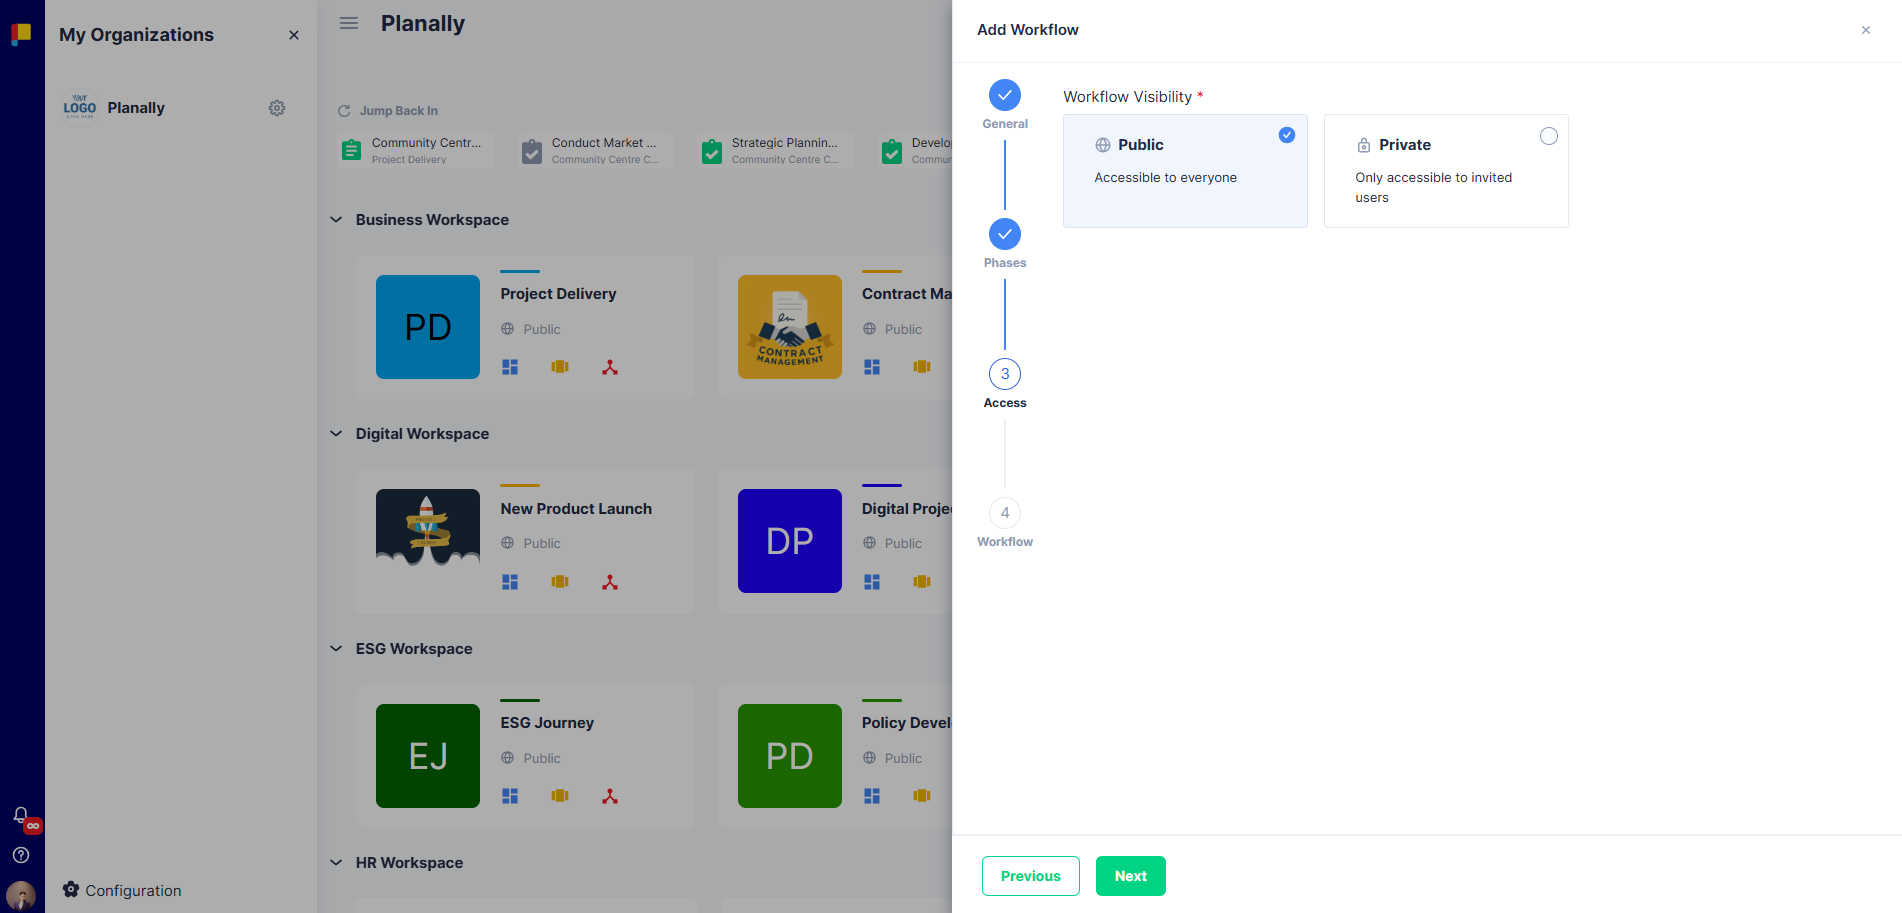
¶ Set Workflow Access
- Define whether the workflow is Public (visible to all users in your organisation) or Private (restricted to assigned users only).
- Click Next to proceed to Workflow.
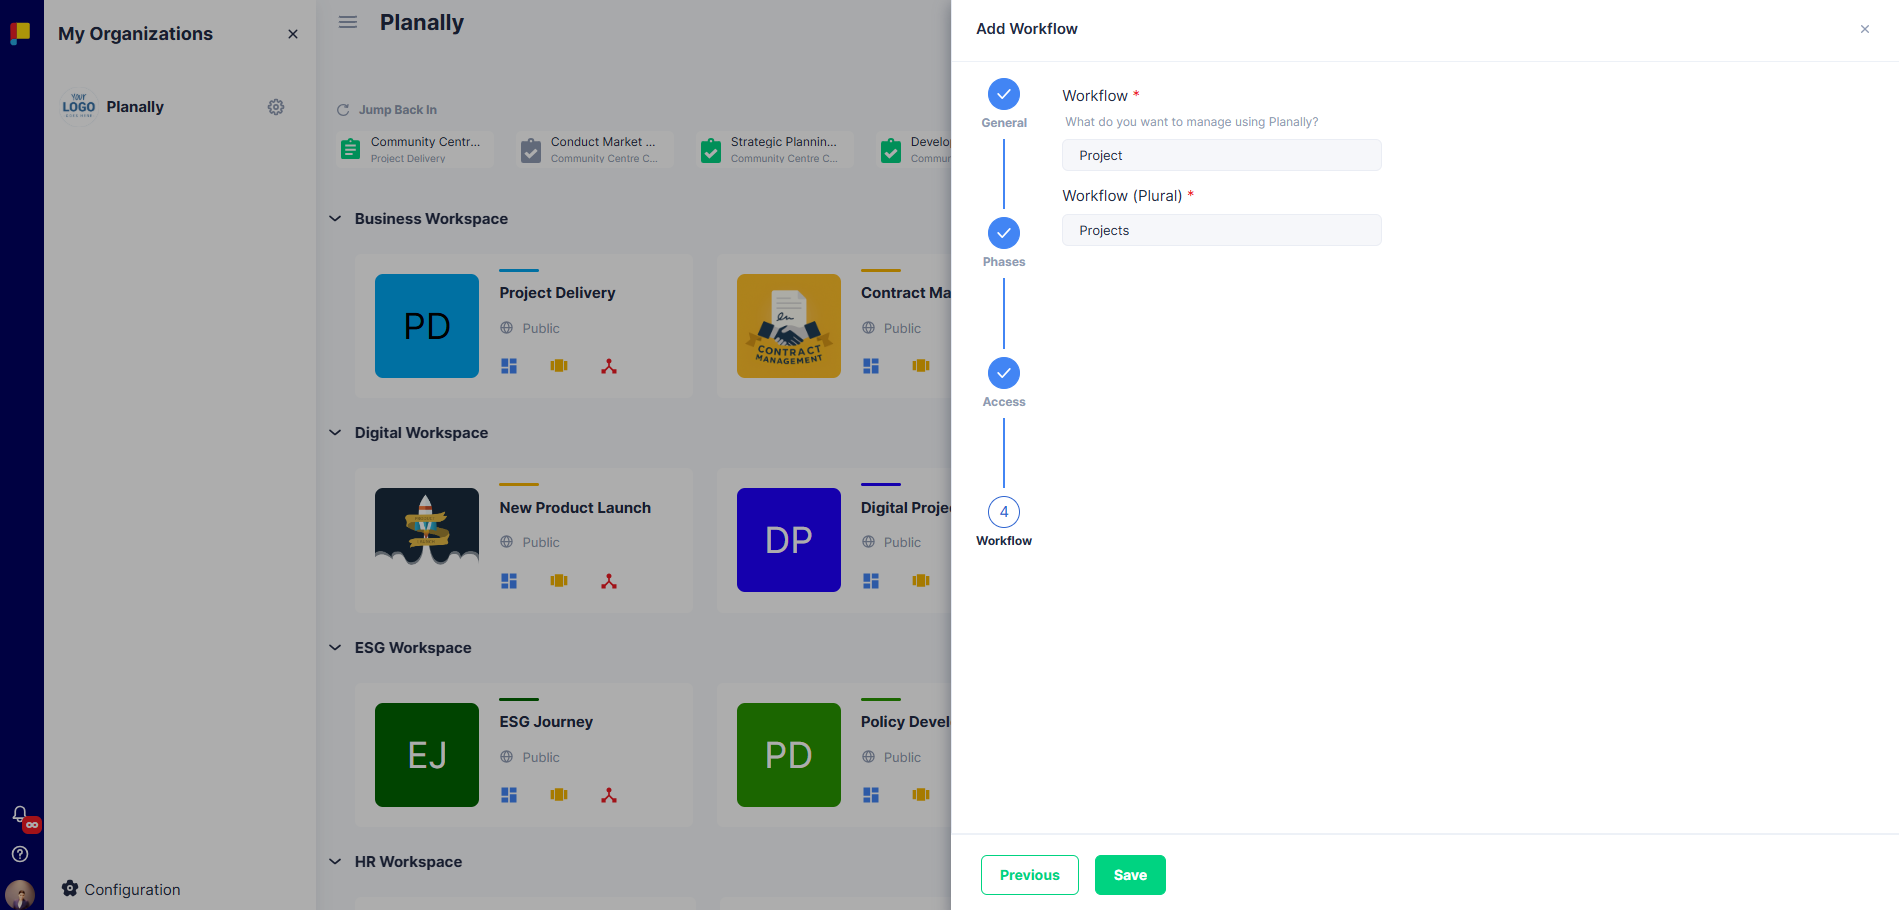
¶ Define Workflow Labels
Specify what you manage with this workflow—projects, contracts, tenders, students, or any other entity.
- Workflow — Singular name (e.g. Project, Contract, Research).
- Workflow (Plural) — Plural name (e.g. Projects, Contracts, Research).
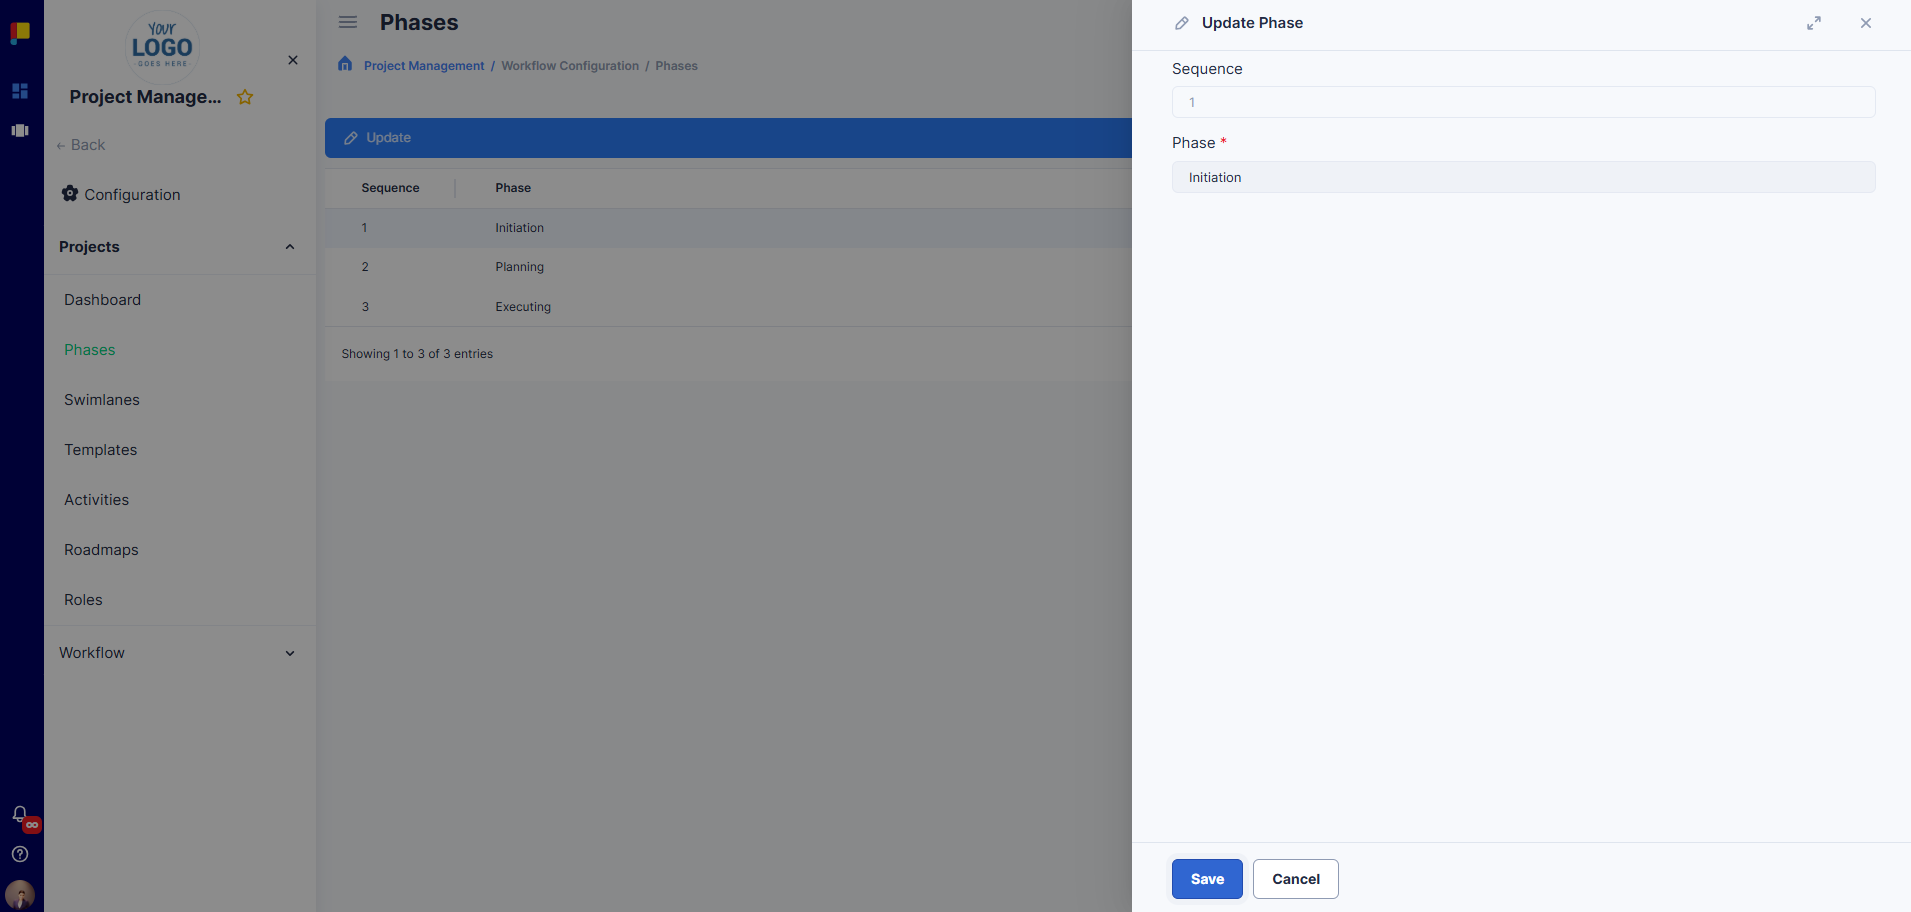
¶ Updating Phase Names
You can update phase names anytime via the Phases page.
¶ Steps
- Open the workflow configuration page.
- Locate the Phases section.
- Edit the phase name or sequence number.
- Click Save.
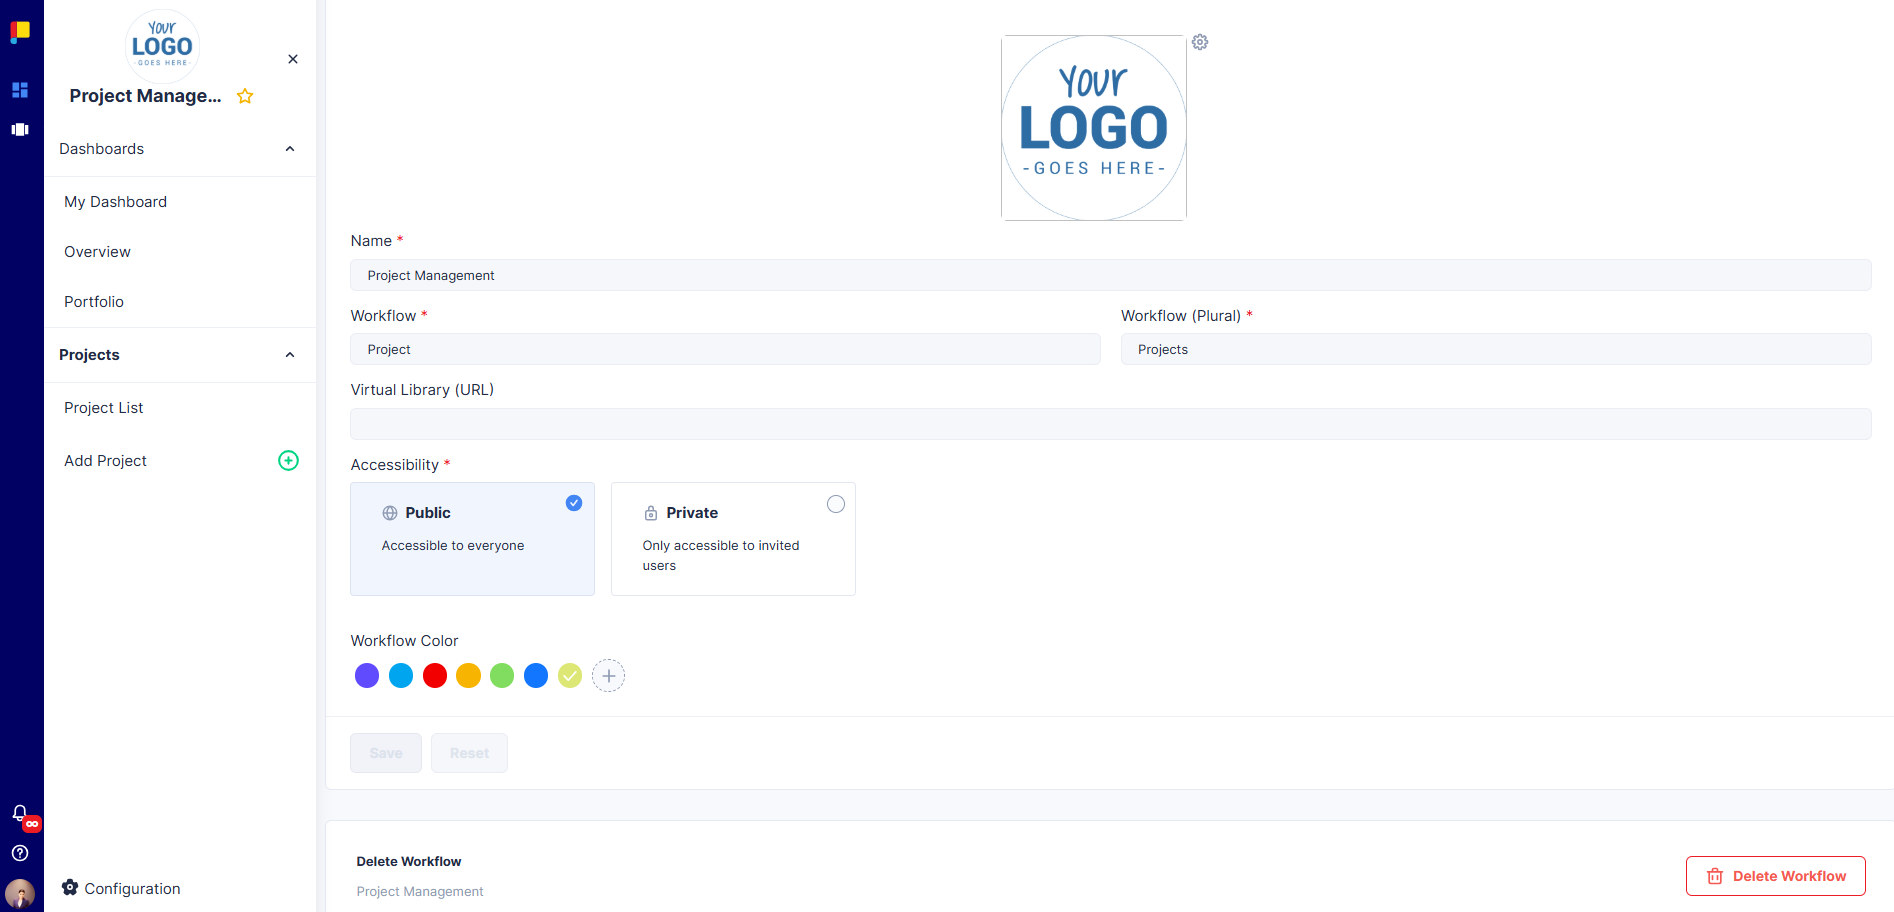
¶ Workflow Settings
Once created, you can update basic settings: Workflow Name, Colour & Logo, Visibility, and Labels.
From Workflow Settings you can also delete the workflow. Click DELETE WORKFLOW and type DELETE in the confirmation field.
Important: Deleting a workflow permanently removes all related items (Roadmaps, Projects, Phases, Swimlanes, Templates, Activities, and Accounts).
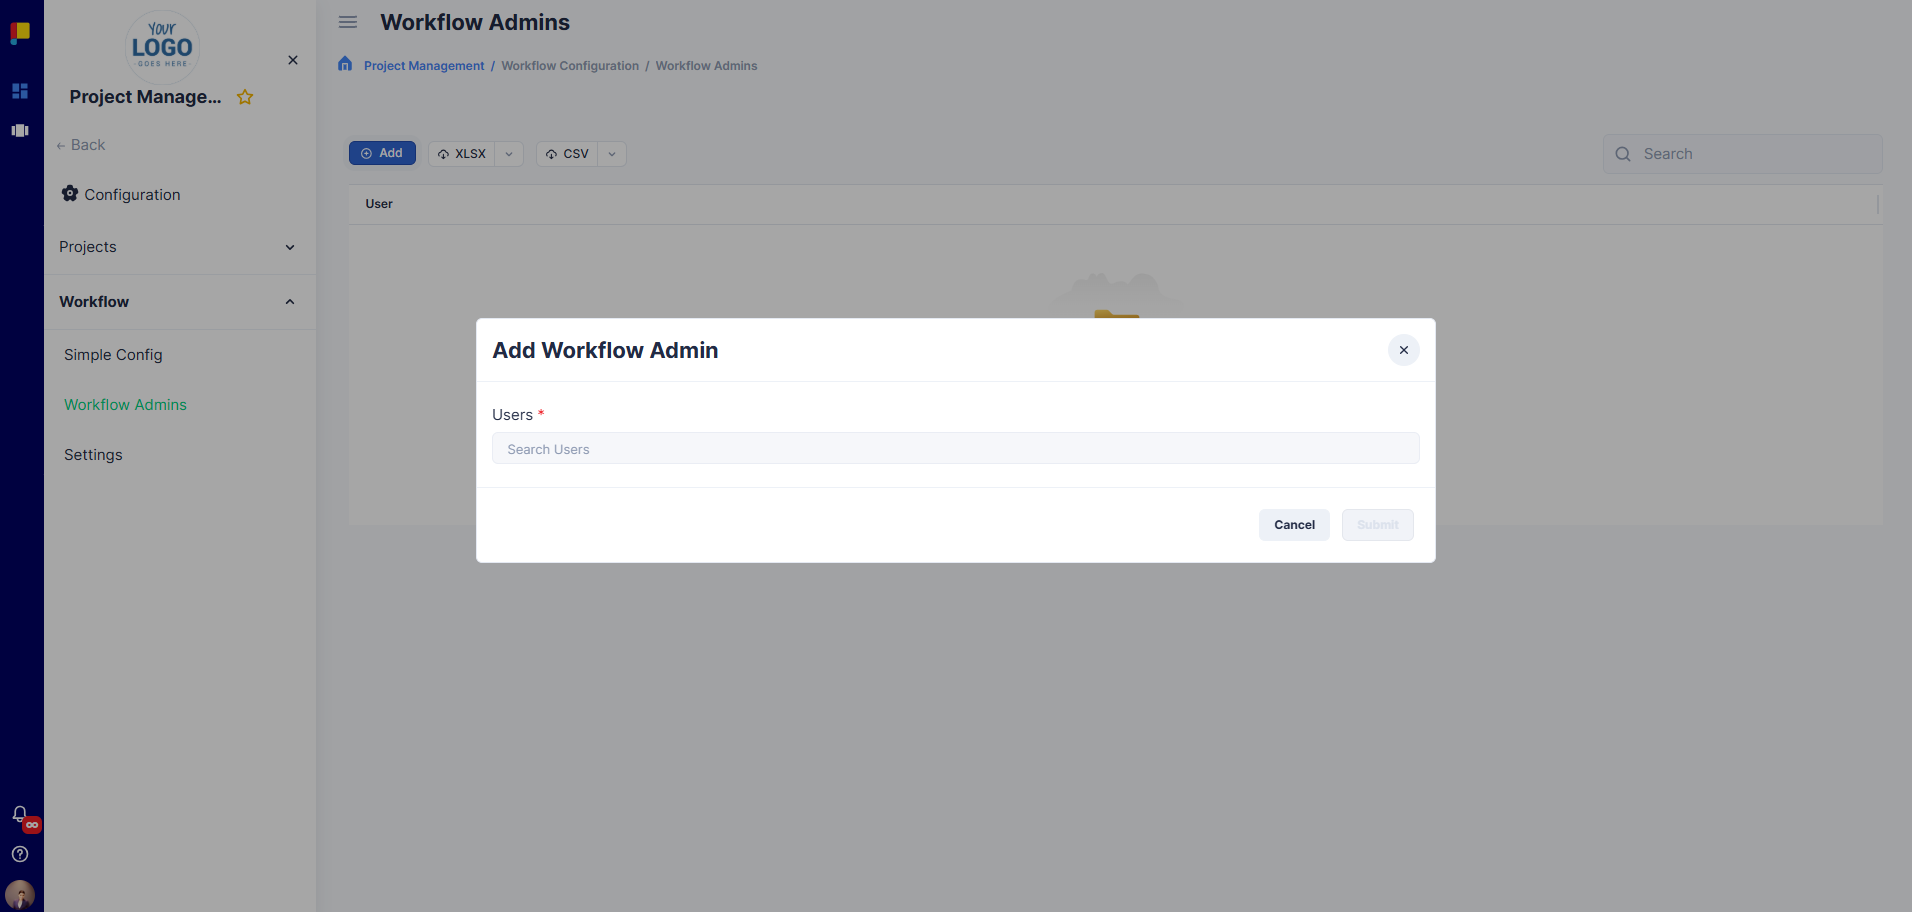
¶ Assign Workflow Admins
Workflow Admins are given access and control of the workflow.
¶ Steps
- Navigate to Workflow Admins under Configuration → Workflow.
- Click Add Admin and select users.
- Save changes.
Admins can: configure workflow settings and manage phases, swimlanes, templates, activities, roadmaps, and roles.
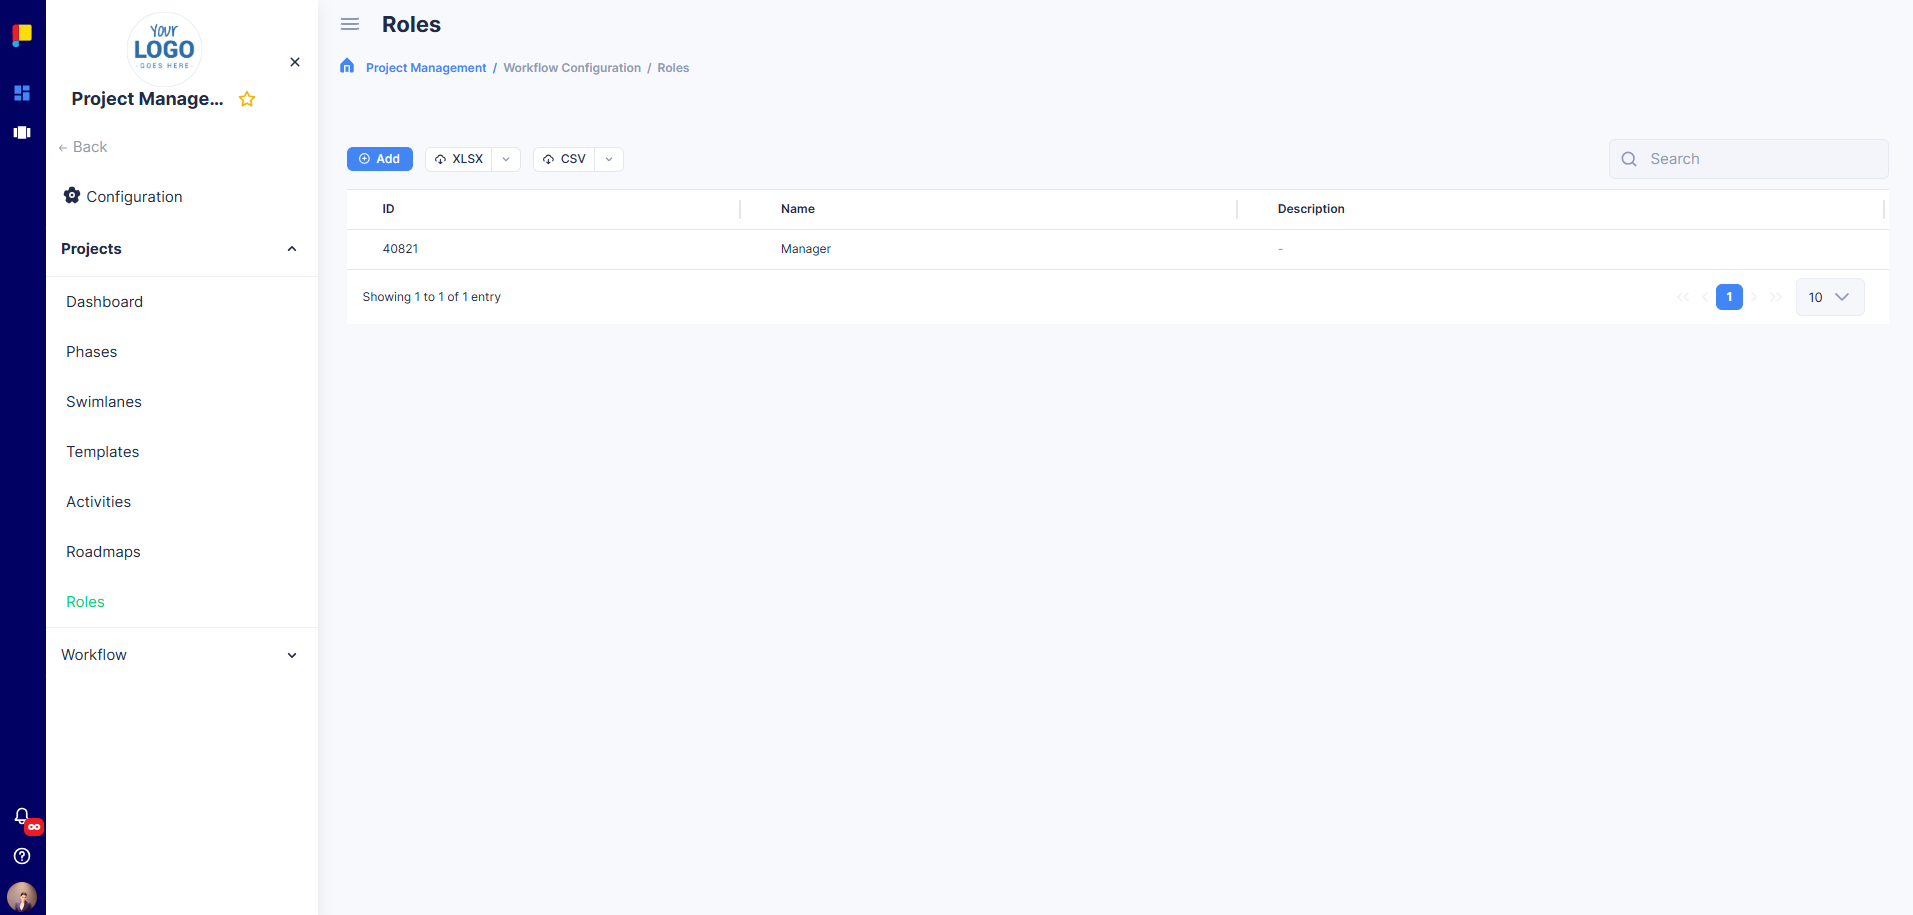
¶ Create Roles
Roles define governance and responsibility. They can be assigned to activities and linked to roadmaps for endorsement and approval policies.
¶ Steps
- Navigate to Roles under Configuration → Projects.
- Click Add Role.
- Enter a Role Name (e.g. Project Manager, Approver) and Description.
- Click Save.
Tip: Define roles before creating roadmaps so they can be assigned to activities easily.
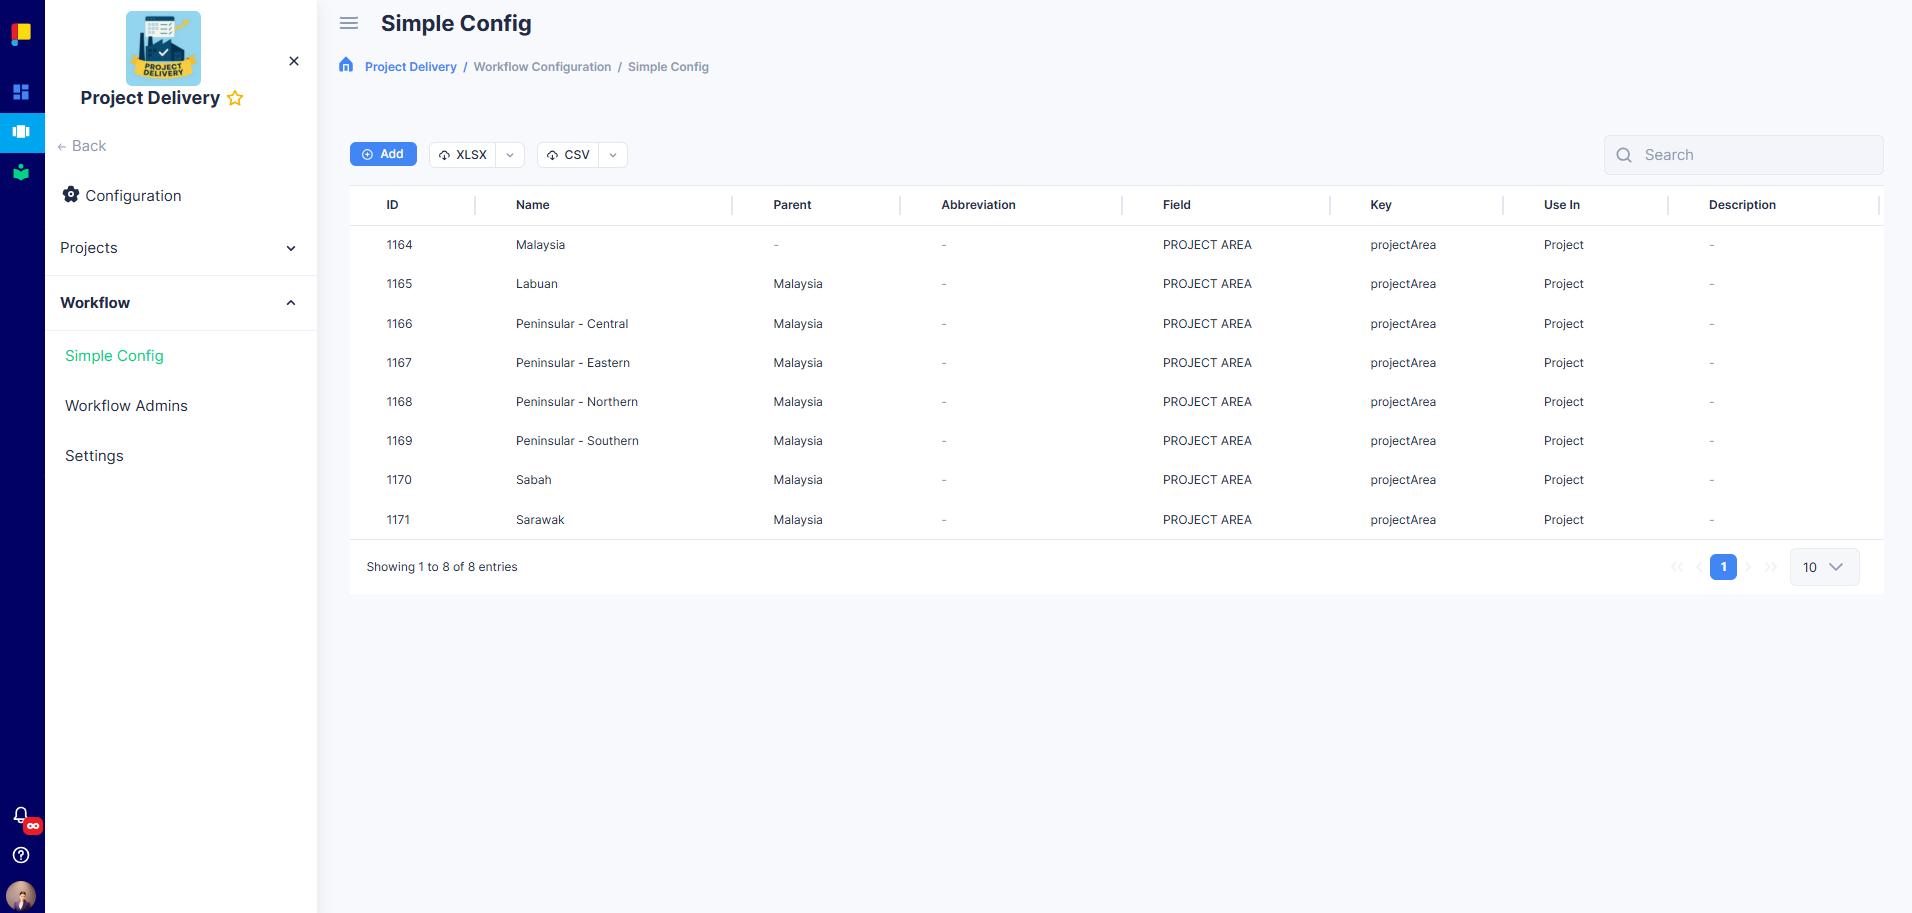
¶ Simple Config
Simple Config lets you define attributes such as Business Segment, Area, Document Types, and Document Categories for better categorisation of data.
¶ Steps
- Navigate to Simple Config under Configuration → Workflow.
- Click Add Simple Config.
- Fill in Name, Abbreviation, Type, Parent (if applicable), and Description.
- Click Add to save.
¶ Best Practices
- Define activities and roadmaps before the team begins adding projects.
- Assign at least one Workflow Admin for governance.
- Create roles early for smooth roadmap and activity configuration.
- Review access settings regularly to maintain security.
- Use Simple Config to standardise project attributes.